|
If you don't follow me on Facebook and Youtube....WHY THE HECK NOT?! Just kidding. But you may have missed my latest craft experiment. Anyone with slippery hardwood floors will appreciate this one and if you don't have hardwood floors these babies also prove useful when wearing boots. What on Earth am I talking about? No-Slip Socks!!! Whether you're a frequent floor glider or have constant sock slippage in your boots, these may be a solution for you. The best part is that you can easily make them yourself. Jeez, I sound like I'm make some sort of sales pitch....Haha. If you're interested you can view the experiment here: Happy Crafting!!!
0 Comments
This time I've got a few crafty things for you all to check out! No I didn't take a long nap last month, I was in fact working on some things. ;) One of which was a care package for my friend Jackielantern. I had been planning it for several months. More like half a year really...oops...but she had invited me to do a Blacklight Run with her. So I knew it was now or never to get the package done! If you've never heard of the Legend of Zelda series then you may find yourself to be a little lost. Nevertheless, I created a vlog that shows my processes for how I created the package. So if you wanted to make something similar with a different theme it should be very helpful. You can view the vlog here: One of the items in the care package was a D.I.Y. mug. You can design your own mug using oil based sharpie markers! I got the idea from a Pinterest pin found here You can also watch me test out the process in an Emi Tests It craft video here: Have fun and happy crafting!
I've always been in to anything artistic or crafty. Especially growing up. But I have never ever done shrinky dinks. Until now. 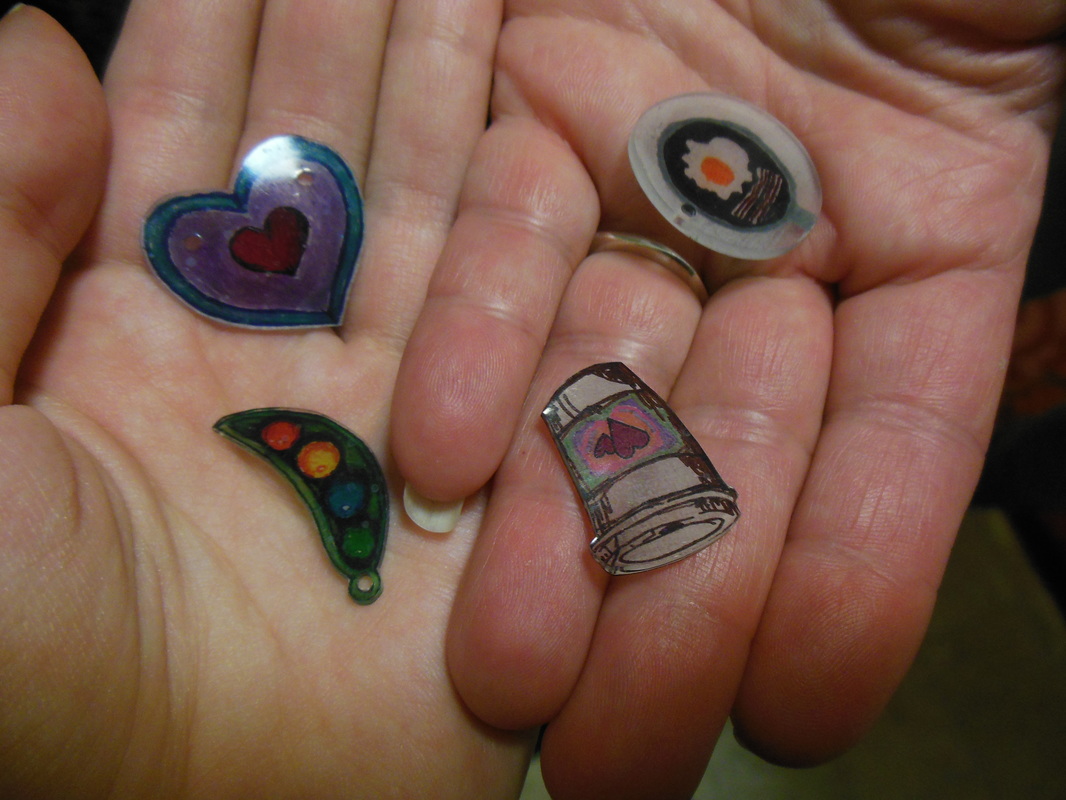 It's not like I never heard of them. In fact I remember my friends being really into them when I was in high school. I just never did them myself. Sylvia had never done them either. So she looked up how to do them and it turns out you can just grab whatever #6 plastic you have lying around to work with. 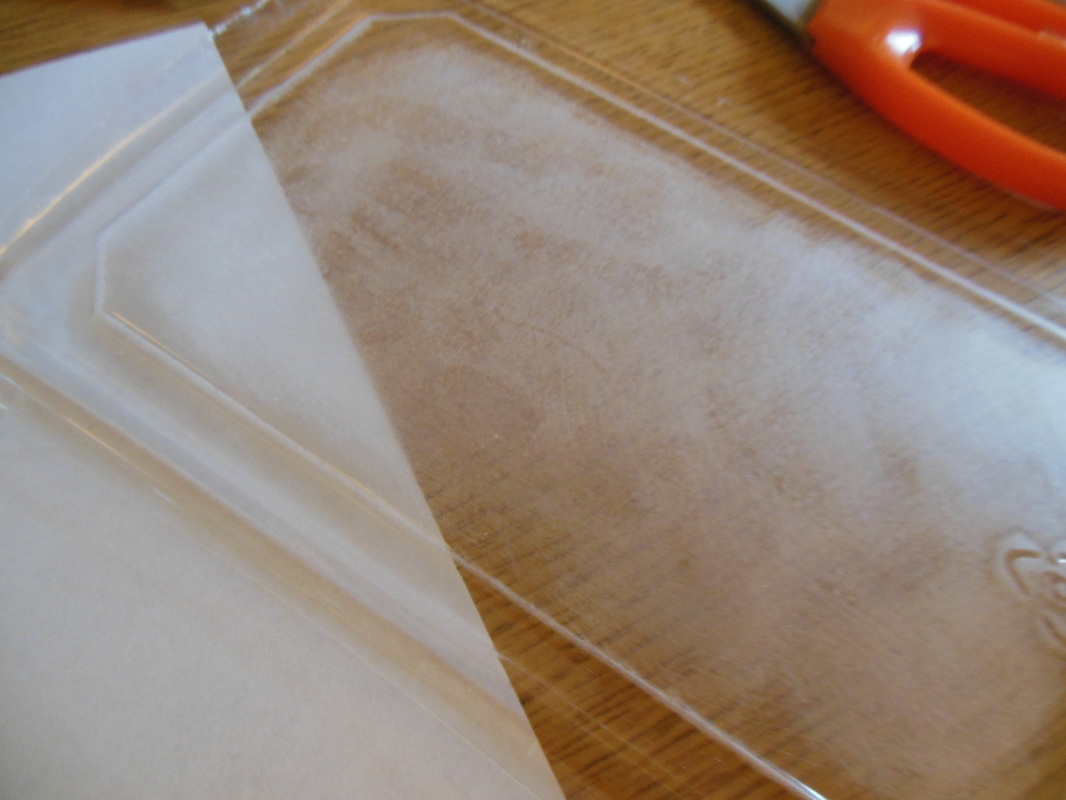 What we did is cut out a flat section from a container lid and sanded it a bit. So that the marker or pencil that we decided to use would stay on. For the sketch or stamp we used, we just applied it to paper first and then traced it to the plastic after. 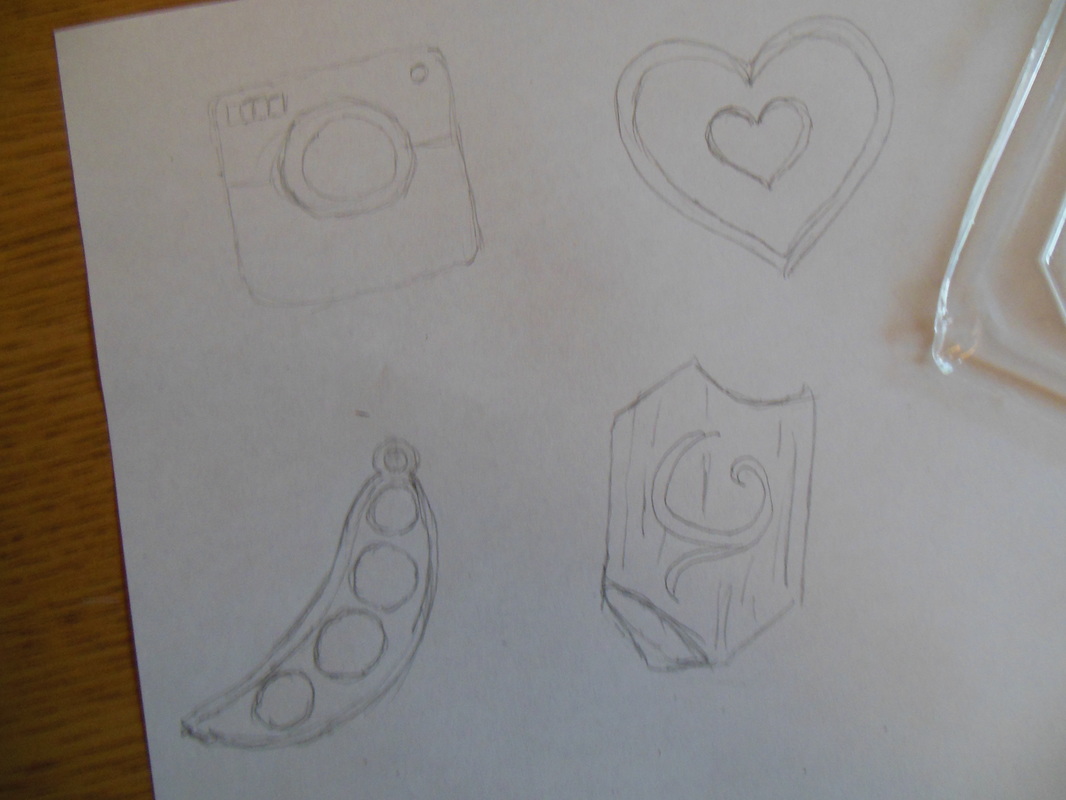 Then came the fun part of coloring. Shading with sharpies is fun but a bit of an art. Haha! I ended up not using all the sketches I came up with because I didn't have enough plastic to work with. 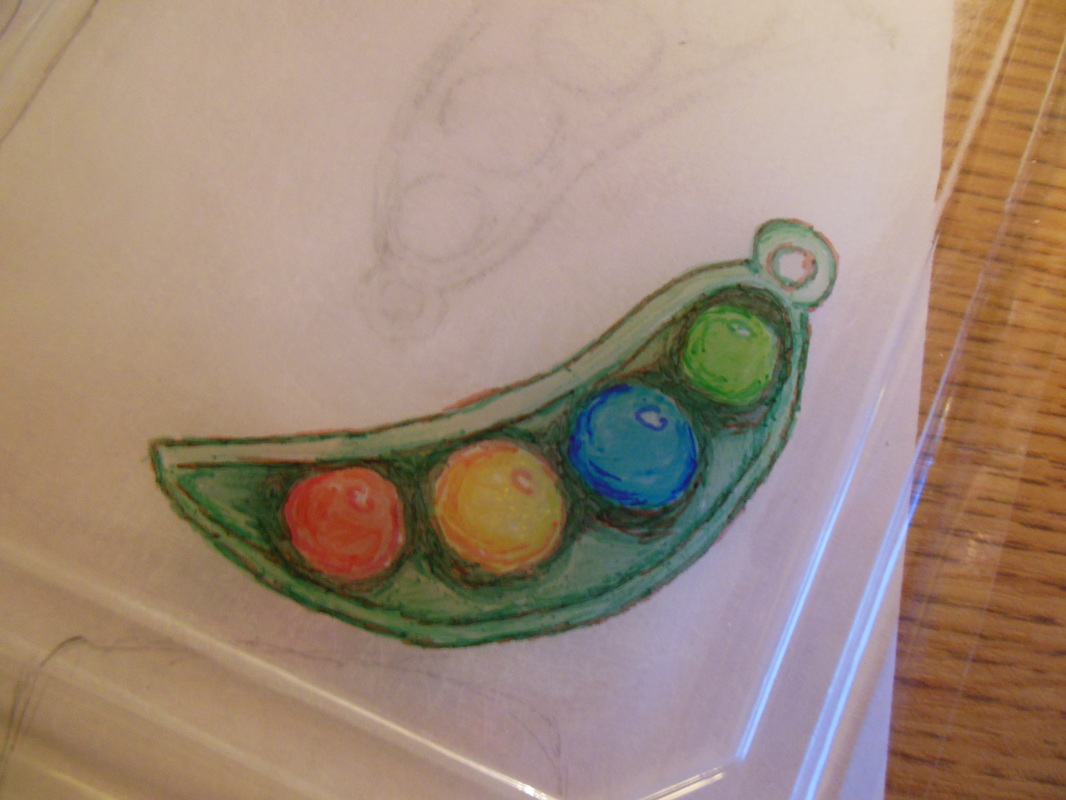 Once they were ready we popped them in the broiler oven for about 5 or so minutes at a temperature of 350 degrees fahrenheit. We basically sat by the oven and stared. Watching them curl and then shrink. One of them warped a bit so I flattened it with a knife before it cooled and hardened. 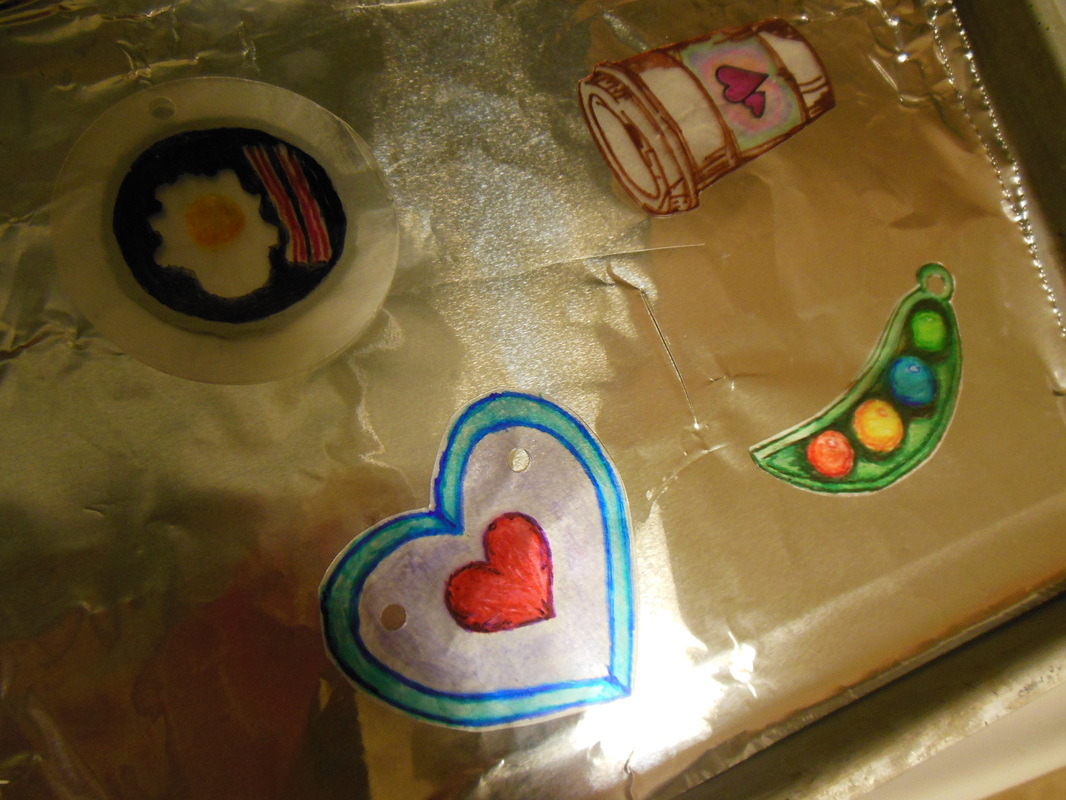 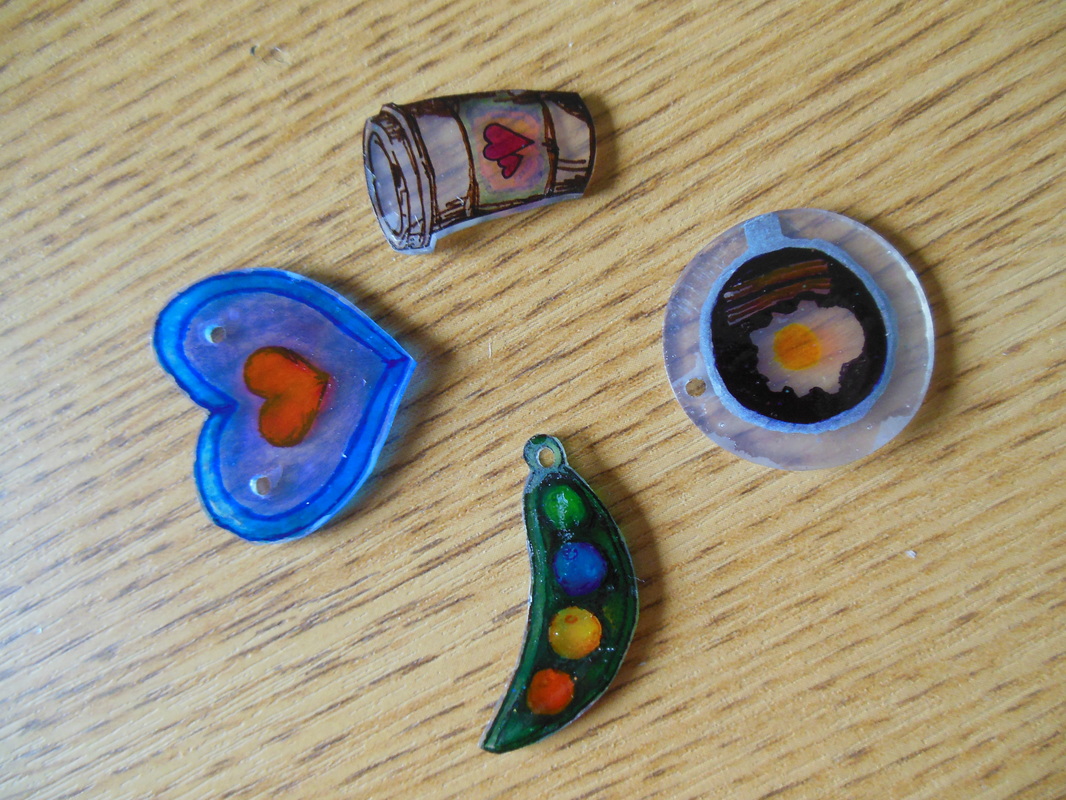 And then they were done! I also glazed the sanded colored side with a bit of glaze. For mine I punched holes in them before I shrunk them so that I could use them for pendants. If you do this, just make sure you make a big enough size hole. If you do this project at home just remember to have fun and experiment! =)
Once again, I am whittling away at the long list of Ravelry patterns I have queued to do. Starting with the smaller easier ones! This time I've finished an Instagram phone case. 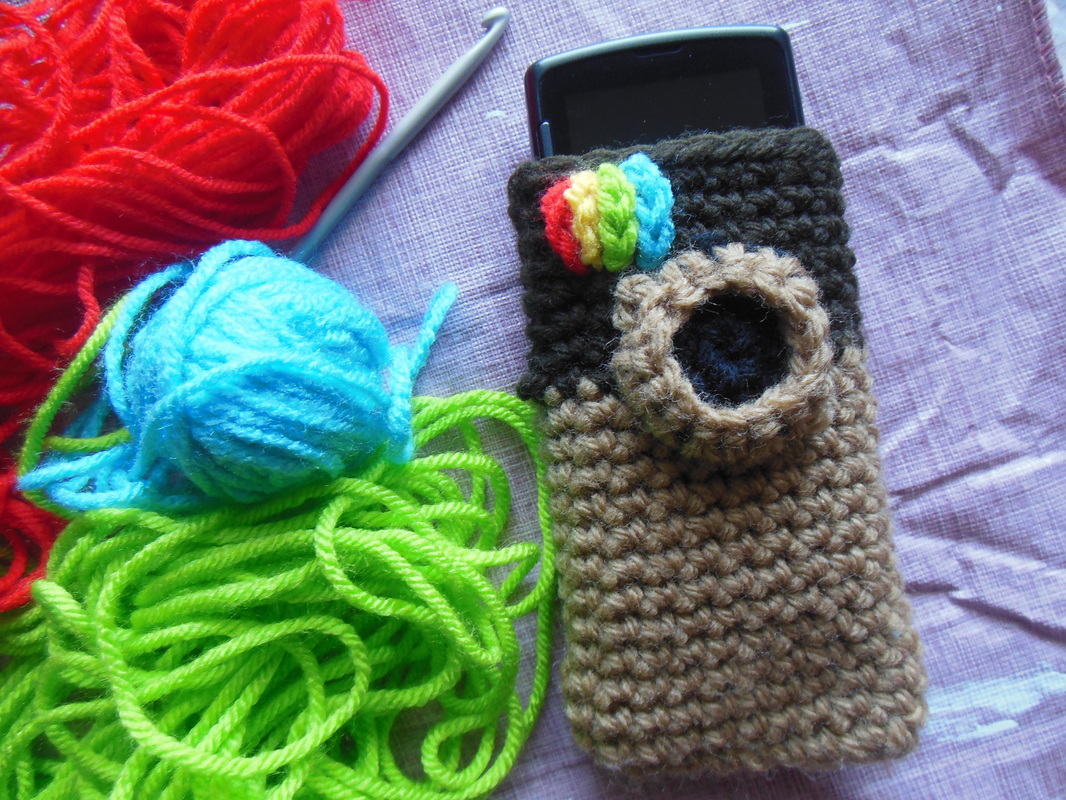 I like the idea of Instagram but I don't have one of those fancy phones that allows you to have a bunch of apps. And I like it that way! Anyways, this pattern was super easy! I had to modify it a little bit to fit my own model of phone. Sounds hard but it isn't. You just have to have your phone handy for measuring and the pattern instructs you on how to improvise. This is a really cute and useful pattern to do because it makes your phone look snazzy and protects it at the same time. I actually dropped mine wearing this case and the yarn softened the fall! You can find the pattern here: Also, if you'd like to join Ravelry (and I highly recommend that you do!) to create your own pattern queue you can do so here: Happy Crocheting!
Hey all! I got another hat tutorial coming your way!! When I was little I had this hat. I say "hat" because that's how I used it, but really it was this super long Christmas stocking. It was pretty cool because I could use it as a hat AND a scarf! I don't have the hat anymore, but I still think it was cool idea. I see pictures of these long elflike hats on Pinterest all the time. So I decided to create my own. If you would like to make one too, click on the picture below to follow along! This one is free and you can find it on Youtube channel. ;) 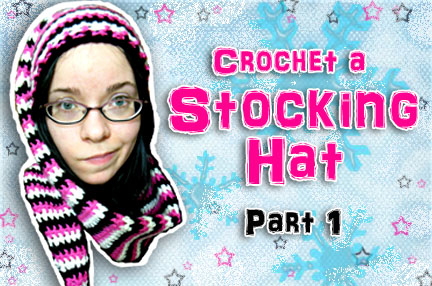 It is a really long hat, so I had to break this tutorial up into 3 parts. You can expect the other two to be up in the next couple of weeks.
Anyways, I think it is a rather useful hat to have because if you're wearing it you can never forget either your hat or scarf because they'll always be together! It's also a great accessory to have if you are planning on infiltrating the Keebler elves base to steal their cookies. |
Archives
July 2021
Categories
All
|
 RSS Feed
