|
So my latest project was a pair of baby booties. I don't really like doing baby items because they can be a bit tricky. You wouldn't think so but they are! I could never find a bootie pattern that I liked. I had one that I semi-liked, but every time I did them I would end up with two left feet. And not in a cute dancing sort of way! But I recently found a pattern that I think will work for me. 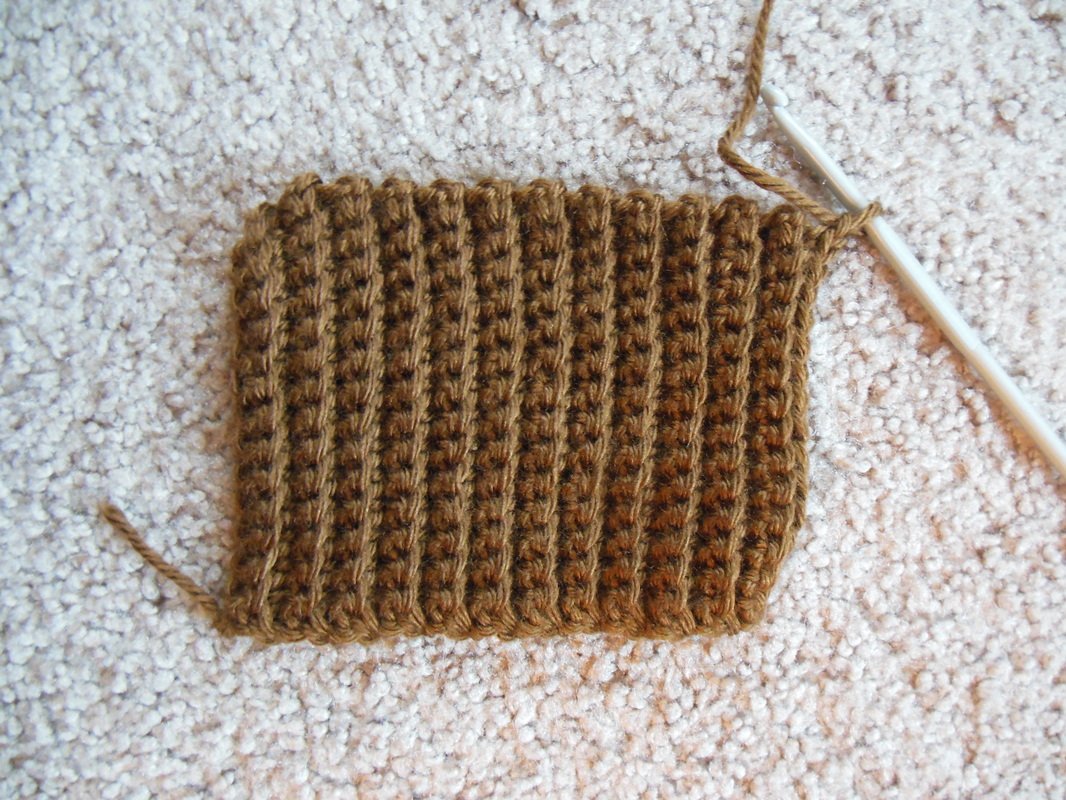 The first part here you actually start from the cuff instead of the sole of the bootie. 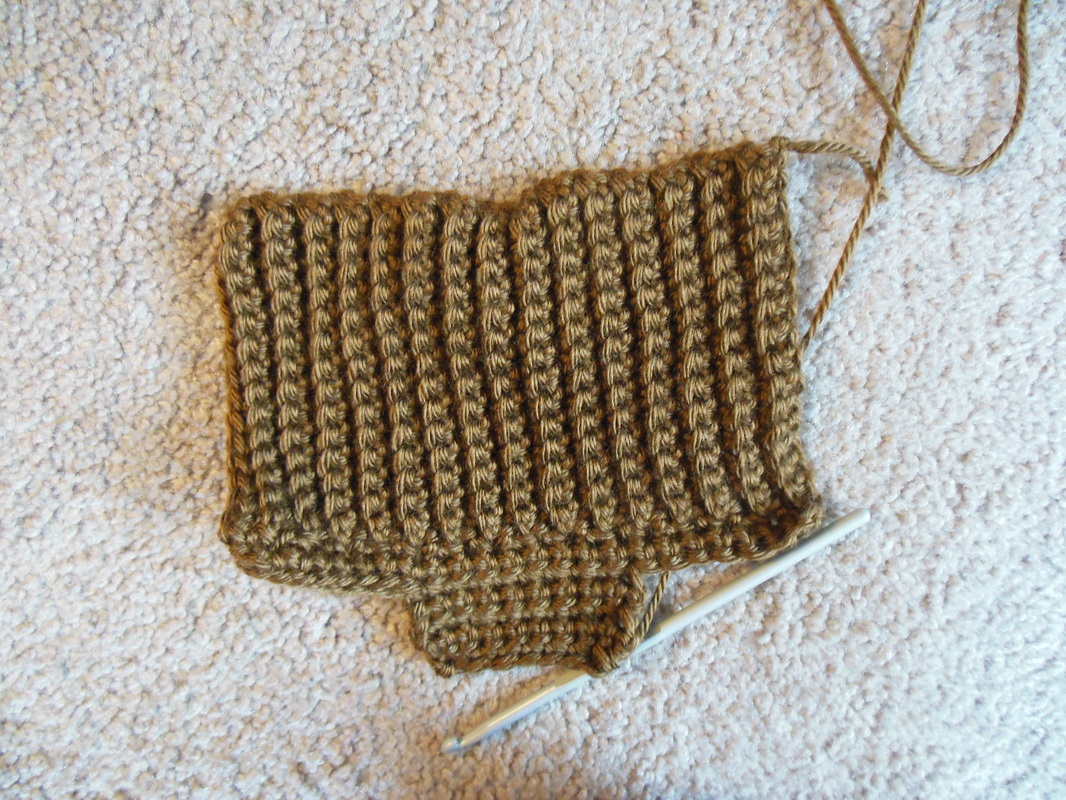 That little tab there is what starts the bottom part. Then you essentially crochet the cuff together in the back and begin on the sole. 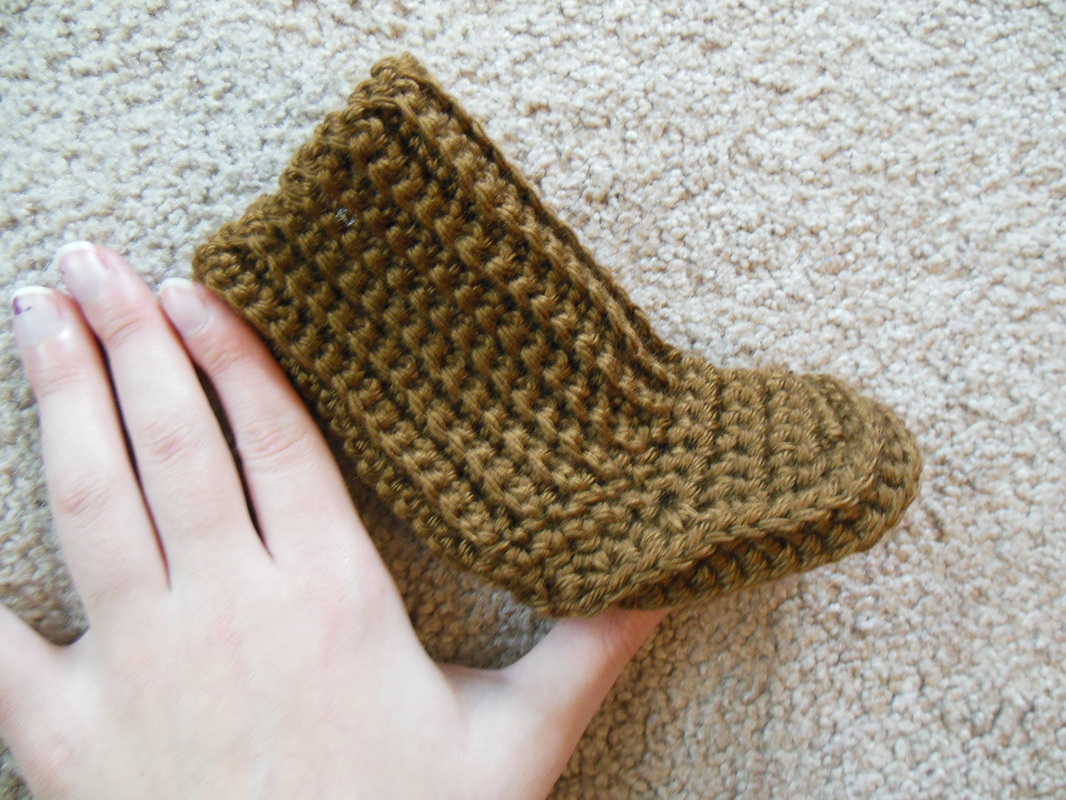 And it turns out something like this! 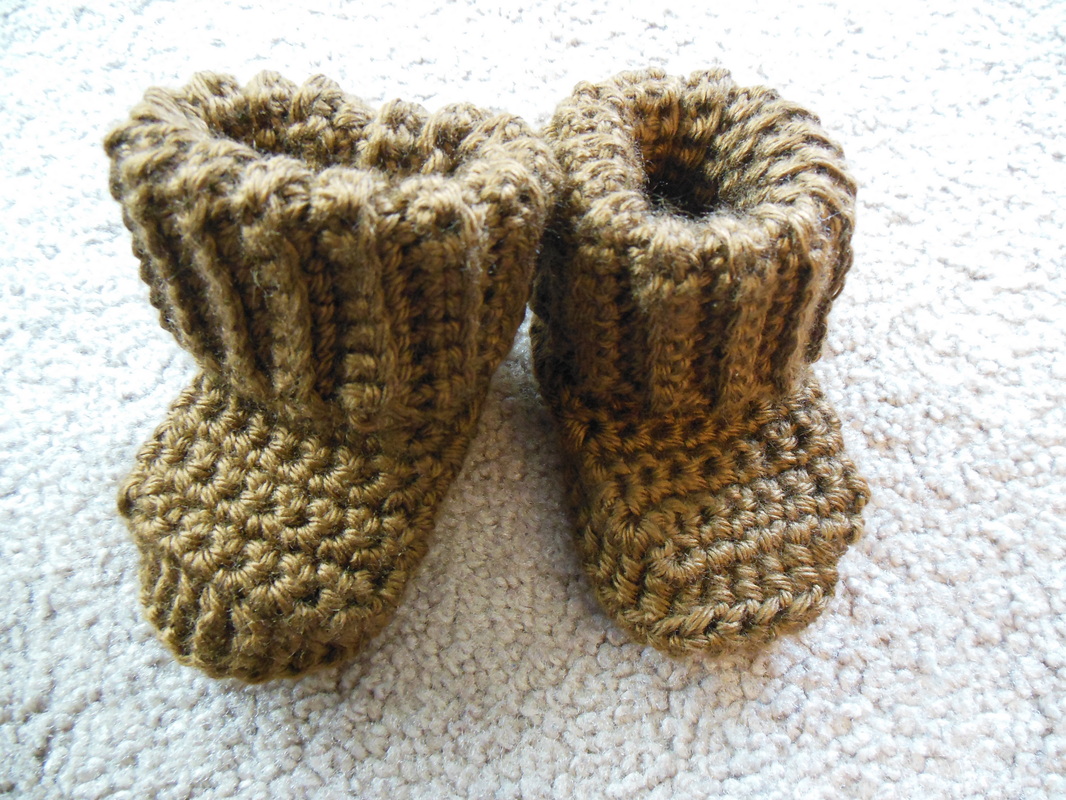 Then you roll the cuff over and waa-laa! Aren't they cute? I did them in brown because it was the softest yarn I had. I didn't have any pink or blue. 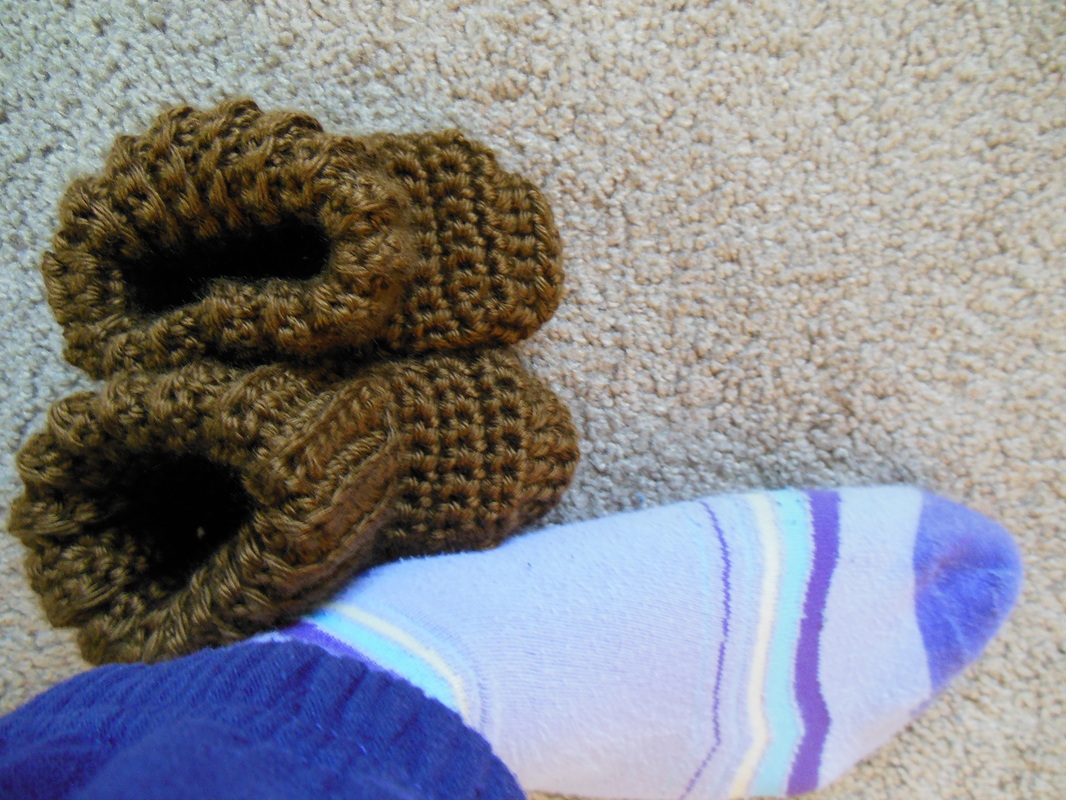 And to get an idea of baby foot ratio, here is my size 7 and 1/2 foot next to them. Haha!
1 Comment
So after a few days of fighting with that massively tangled blue yarn I am triumphant! The scarf is finished! 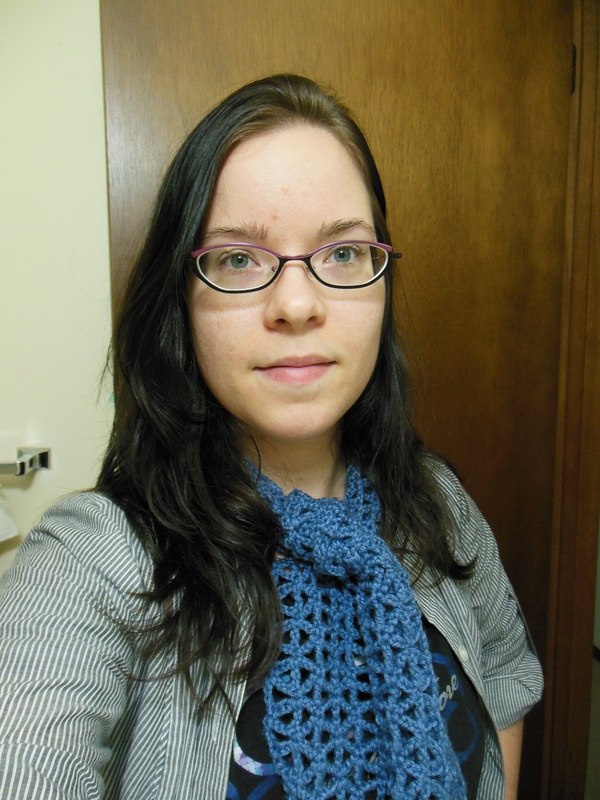 I also finished another nice beret and hand warmer set. 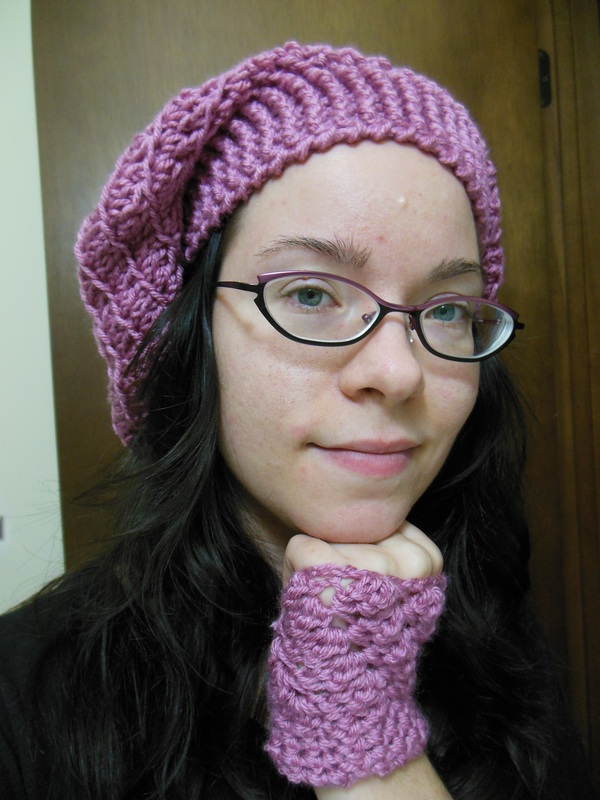 I've started a to make a nice lace-like scarf. 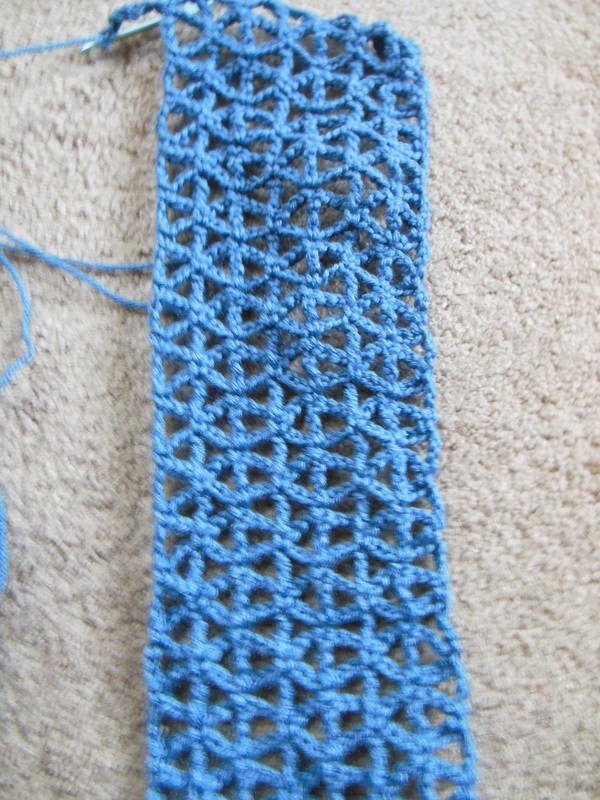 It was fine when I started but now I'm starting to have one of those wtf yarn moments. xD 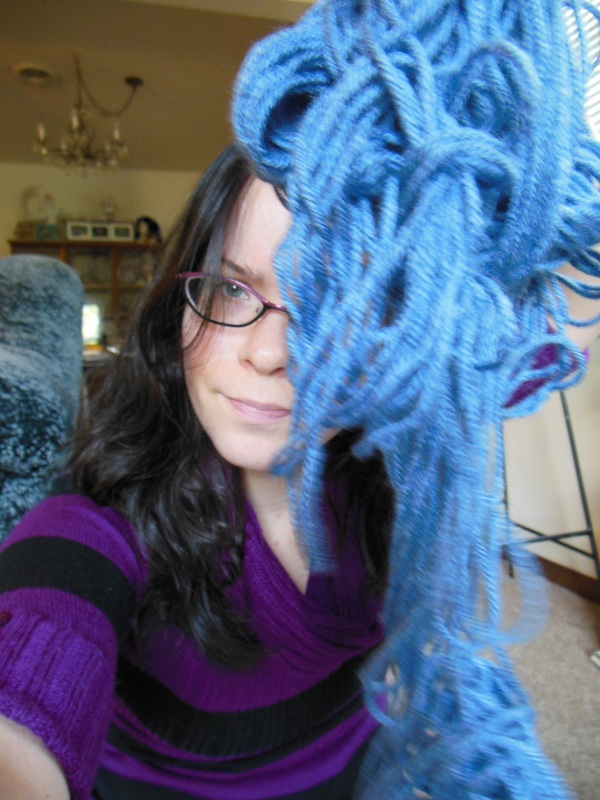 So today is basically "I HATE YOU YARN!" day. Haha!
I still had a lot of black yarn leftover from that shirt dress thing, so I decided to make some stuff with it. Because of course black goes with everything. 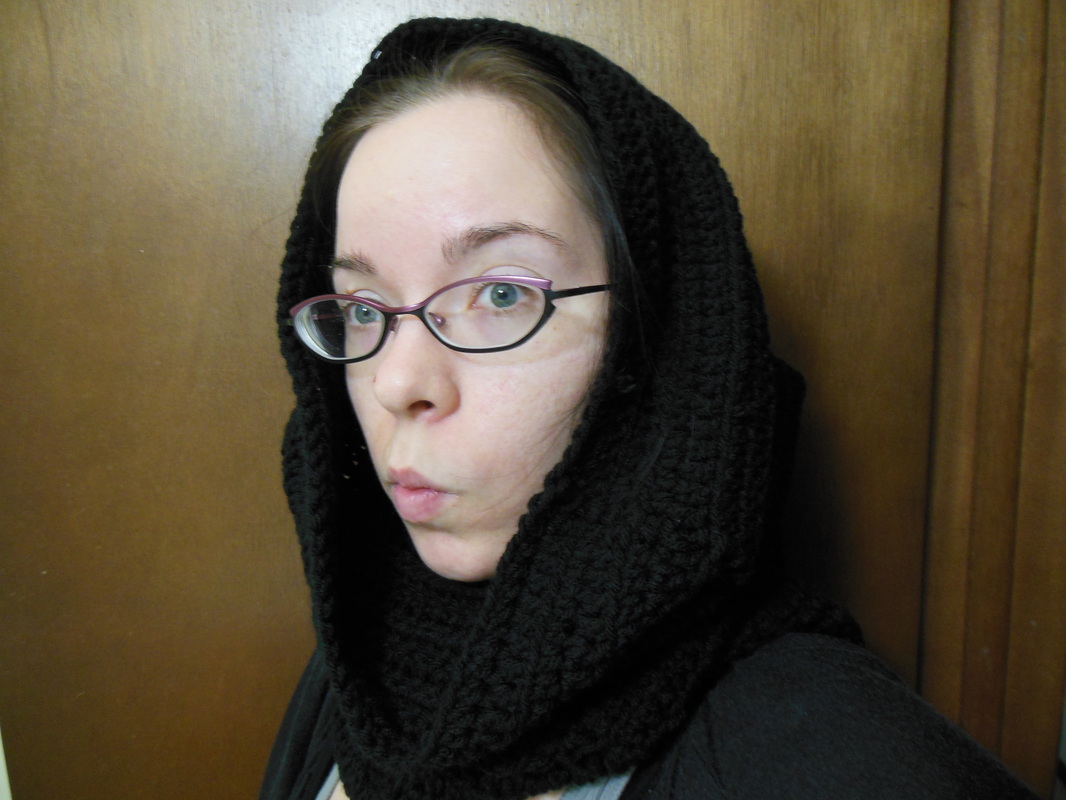 First up I made one of my basic cowls. Though if I wanted to get in the Halloween spirit this would be perfect if I wanted to be a dementor, ringwraith, or perhaps no face from Spirited Away.  Or I could just be a ninja. 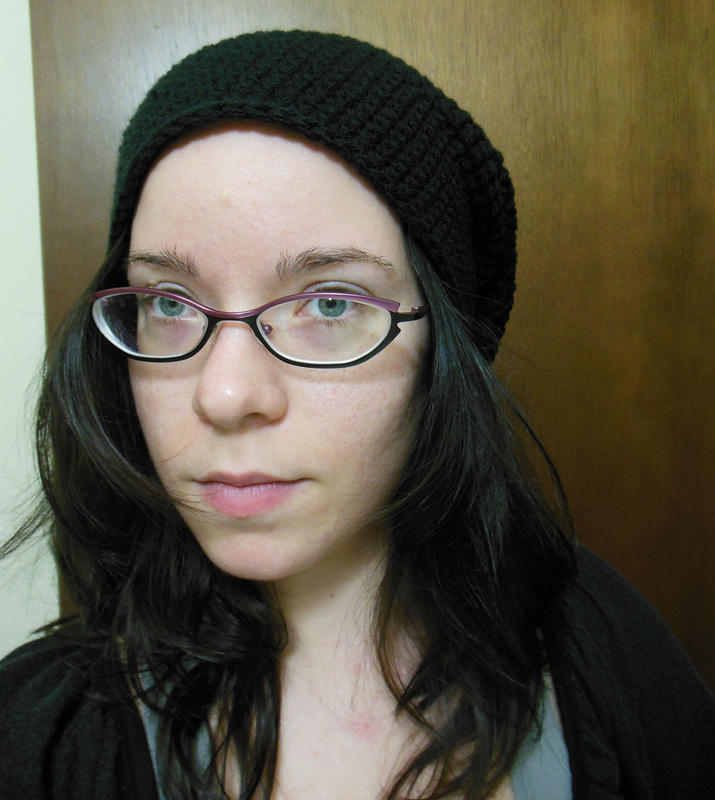 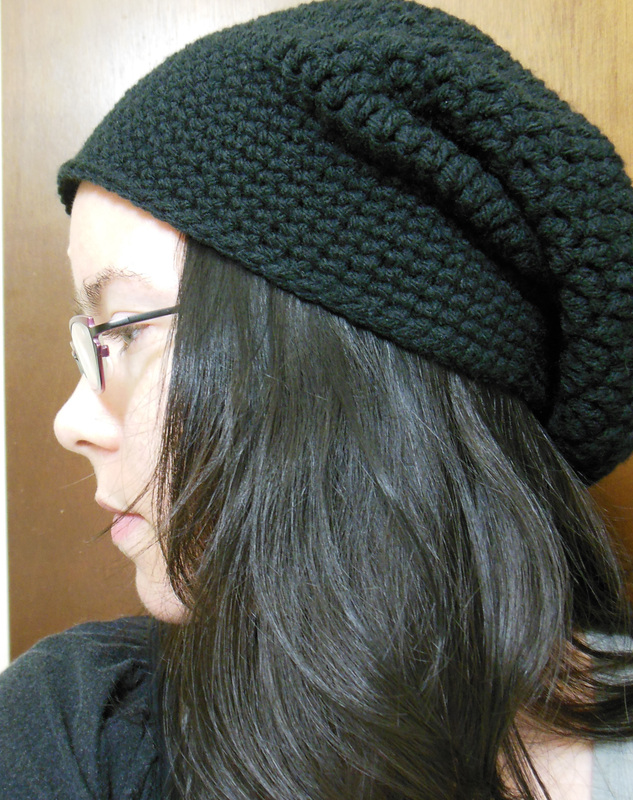 I also made anther slouchy beanie only this time without the tassle. I think I've found my new favorite hat!
So awhile back I got a ton of this black yarn on sale. I had a pattern for a sort of over mesh shirt and wanted to try it out. And basically all you have to do is create two square pieces and put them together to form the shirt. Easy-peasy! Or so I thought... 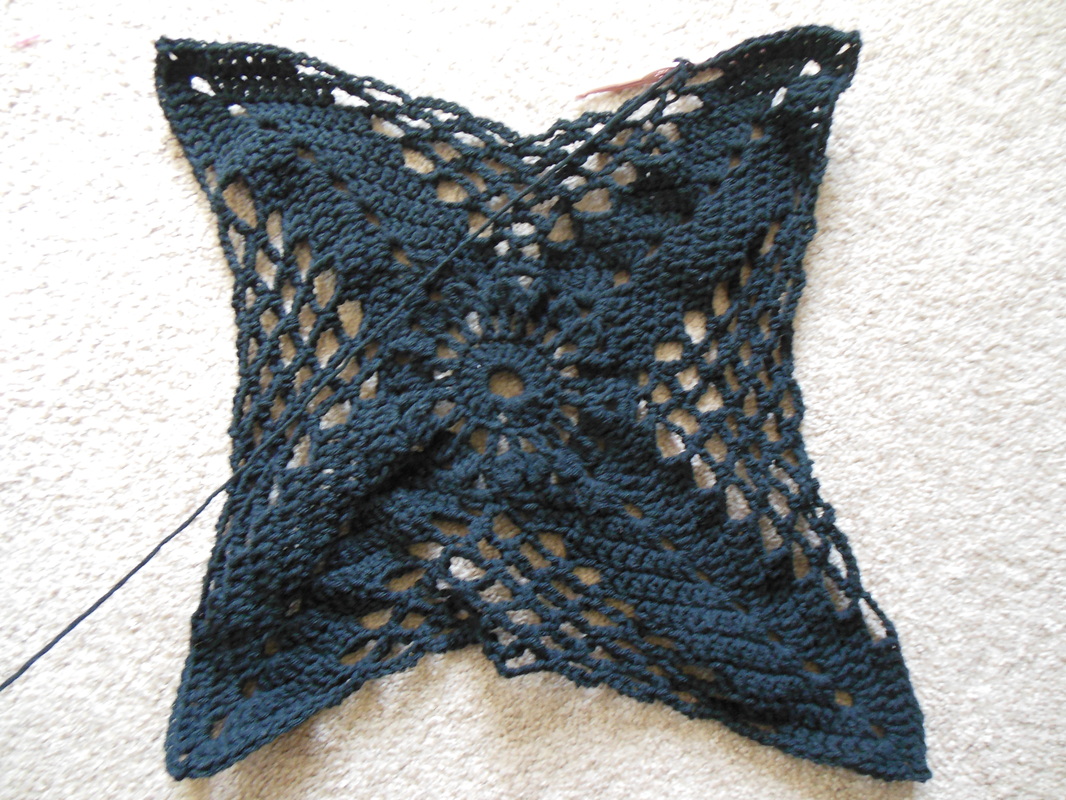 So, here was the first process in making the squares. It looks so tiny! 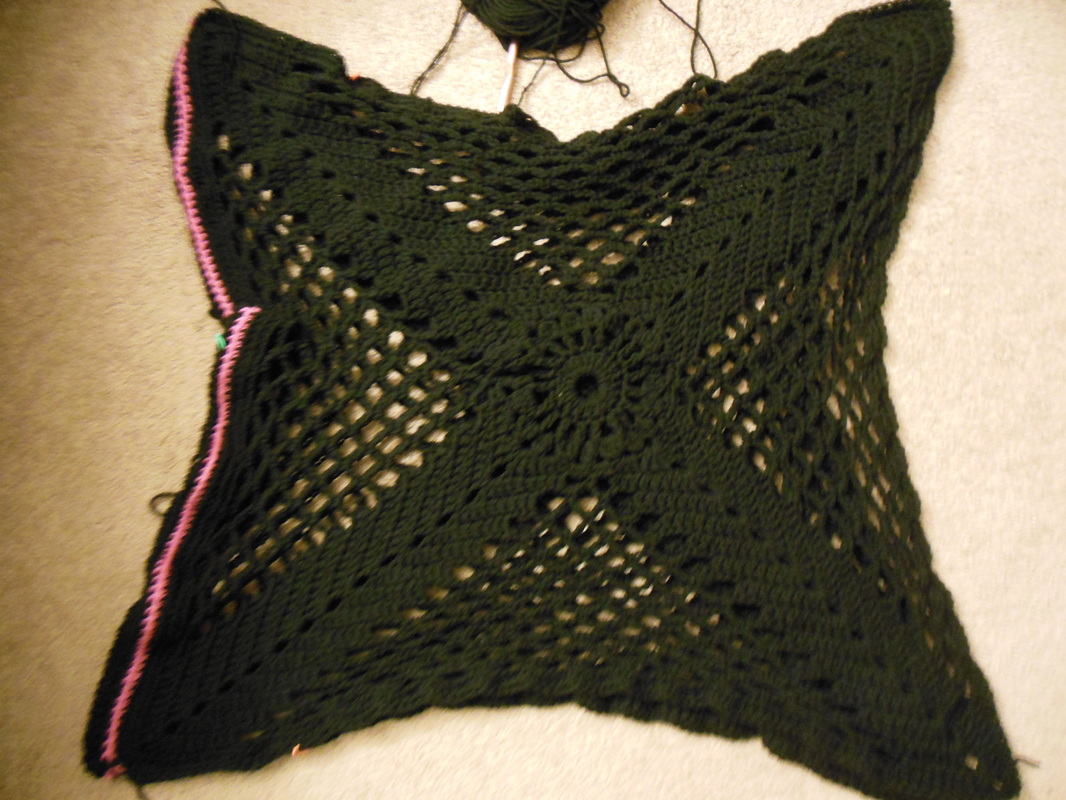 Once you have the square as large as you like you can add a contrasting color. Problem was, it said to make the square about 2 feet in diameter. I thought that seemed too small so I made it bigger and.... 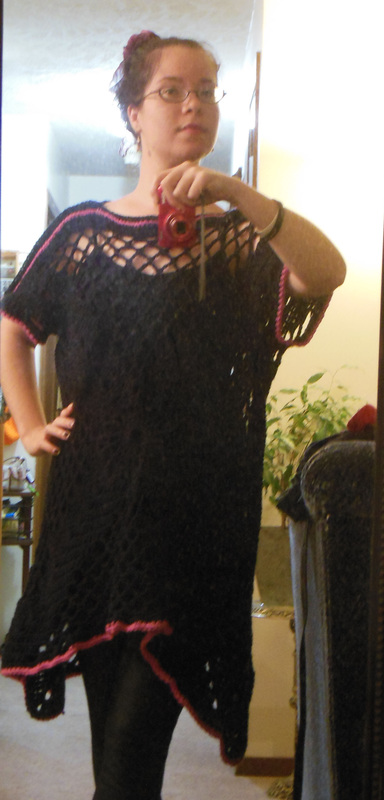 I ended up with a dress instead of a shirt! Haha, oops! Also, what you are supposed to do is "block" it which I did not because I did not know what that meant at the time. To block it, all I had to do was lightly dampen the squares and lay them out in proper square form. So the shape of this "dress" would have been a little less lumpy had I done so. But for my very first attempt at actual clothing I don't think it turned out that badly!
|
Archives
July 2021
Categories
All
|
 RSS Feed
